Master how to make sourdough starter: Your Ultimate Guide
how to make sourdough starter

Master how to make sourdough starter: Your Ultimate Guide

Embark on your sourdough journey with confidence, creating a robust, active starter that will elevate your homemade bread.

Start Your Starter Today!

Key Takeaways

  • ✓ Sourdough starter requires only flour and water.
  • ✓ It's a living culture of wild yeast and bacteria.
  • ✓ Consistency and warmth are key to success.
  • ✓ A healthy starter will double in size after feeding.

How It Works

1
Combine Flour and Water

Mix equal parts whole wheat flour and water in a clean jar to begin cultivating wild yeasts. This initial mixture forms the foundation of your starter.

2
Daily Feeding Routine

Discard most of the starter and feed the remainder with fresh flour and water daily. This process nourishes the growing microbial community and encourages activity.

3
Observe and Adapt

Pay close attention to signs of activity like bubbles, rise, and a pleasant sour aroma. Adjust feeding frequency or temperature as needed to optimize growth.

4
Achieve Starter Maturity

Continue daily feedings until your starter consistently doubles in size within 4-8 hours after feeding. This indicates it's strong and ready for baking.

Understanding the Fundamentals of a Sourdough Starter
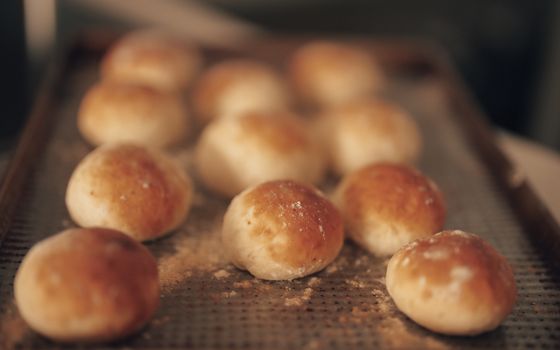
Close-up of freshly baked bread rolls on a baking tray, warm and golden brown. Photo: Guillermo Berlin / Pexels
Before you dive into the practical steps of how to make sourdough starter, it's crucial to grasp the fundamental science behind this magical concoction. A sourdough starter is essentially a living ecosystem, a symbiotic culture of wild yeasts and lactic acid bacteria (LAB) that exist naturally in flour and the air around us. When you combine flour and water, you're creating an ideal environment for these microorganisms to thrive. The yeasts consume the sugars in the flour, producing carbon dioxide gas (which makes your bread rise) and alcohol. The bacteria, on the other hand, produce lactic and acetic acids, which give sourdough its characteristic tangy flavor and improve the bread's keeping qualities. This delicate balance is what makes sourdough bread so unique and flavorful. The beauty of a sourdough starter lies in its simplicity: just two ingredients, flour and water. However, the quality of these ingredients can significantly impact your starter's health and vigor. Opting for unbleached, organic flours, especially whole wheat or rye, can give your starter a head start. These flours contain more natural microbes and nutrients that the wild yeasts and bacteria love. Tap water is generally fine, but if your tap water is heavily chlorinated, it might inhibit microbial growth. Letting tap water sit out for a few hours or using filtered water can mitigate this issue. The warmth of your environment also plays a critical role. Yeasts and bacteria are more active in warmer temperatures, typically between 70-80°F (21-27°C). If your kitchen is cooler, your starter might take longer to become active, or you might need to find a warmer spot for it. Understanding these basic principles will empower you to troubleshoot common issues and nurture a robust, active starter. Think of your starter as a pet; it needs consistent feeding, a comfortable environment, and observation to flourish. The journey of creating a sourdough starter is not just about baking; it's about connecting with an ancient culinary tradition and learning patience and observation. Many bakers find the process incredibly rewarding, watching their simple mixture transform into a bubbling, fragrant powerhouse. For more insights into the science of baking, explore our guide on the chemistry of bread making.

Step-by-Step Guide: How to Make Sourdough Starter From Scratch

Close-up of freshly baked bread rolls on a baking tray, warm and golden brown. Photo: Guillermo Berlin / Pexels
Embarking on the journey of how to make sourdough starter is a rewarding experience that begins with a few simple steps. This detailed guide will walk you through each day, ensuring you have the best chance of cultivating a vibrant and active starter. **Day 1: The Genesis** In a clean, clear glass jar (a quart-sized mason jar works well), combine 50 grams (approximately 1/4 cup) of whole wheat flour and 50 grams (approximately 1/4 cup) of lukewarm filtered water. Mix thoroughly with a spoon or spatula until no dry clumps of flour remain. The consistency should be like a thick pancake batter. Cover the jar loosely with a lid, plastic wrap, or a clean cloth secured with a rubber band. This allows air exchange while preventing contaminants. Place the jar in a warm spot, ideally between 70-75°F (21-24°C), and let it rest for 24 hours. You might not see much activity yet, and that's perfectly normal. **Day 2: First Signs of Life** On day two, you might start to notice tiny bubbles forming on the surface or along the sides of the jar, and perhaps a faint, slightly sour smell. This indicates that microbial activity has begun. Do not feed your starter today. Simply stir it gently, re-cover, and return it to its warm spot for another 24 hours. Patience is key during these initial stages. The microbes are just beginning to establish themselves, and over-feeding too early can dilute their nascent colony. **Day 3: The First Feeding** Today marks your first official feeding. You'll begin by discarding most of your starter. This might seem wasteful, but it's crucial for concentrating the microbial population and preventing the starter from becoming too acidic. Discard all but 50 grams (about 1/4 cup) of your starter. To the remaining 50 grams, add 50 grams of unbleached all-purpose flour (or a mix of all-purpose and whole wheat for continued robustness) and 50 grams of lukewarm filtered water. Mix well until smooth. Cover loosely and return to its warm spot. You should start to see more consistent bubbling and possibly a slight rise and fall after feeding. **Days 4-7: Consistent Feeding and Observation** Continue the feeding routine from Day 3 every 12-24 hours. The frequency depends on your kitchen temperature and the starter's activity. If it's very warm and active, feed every 12 hours. If cooler, every 24 hours might suffice. Each day, discard all but 50 grams, then feed with 50g flour and 50g water. You should observe increasing activity: more vigorous bubbling, a noticeable rise (it might double in size), and a pleasant, yeasty, slightly sour aroma. It should smell like fermented fruit or beer, not like nail polish remover (which indicates too much acetic acid and a need for more frequent feeding). By day 7, your starter should be consistently doubling in size within 4-8 hours after feeding, indicating it's active and ready for baking. It should also pass the 'float test': drop a small spoonful into water; if it floats, it's ready!

Maintaining and Storing Your Active Sourdough Culture
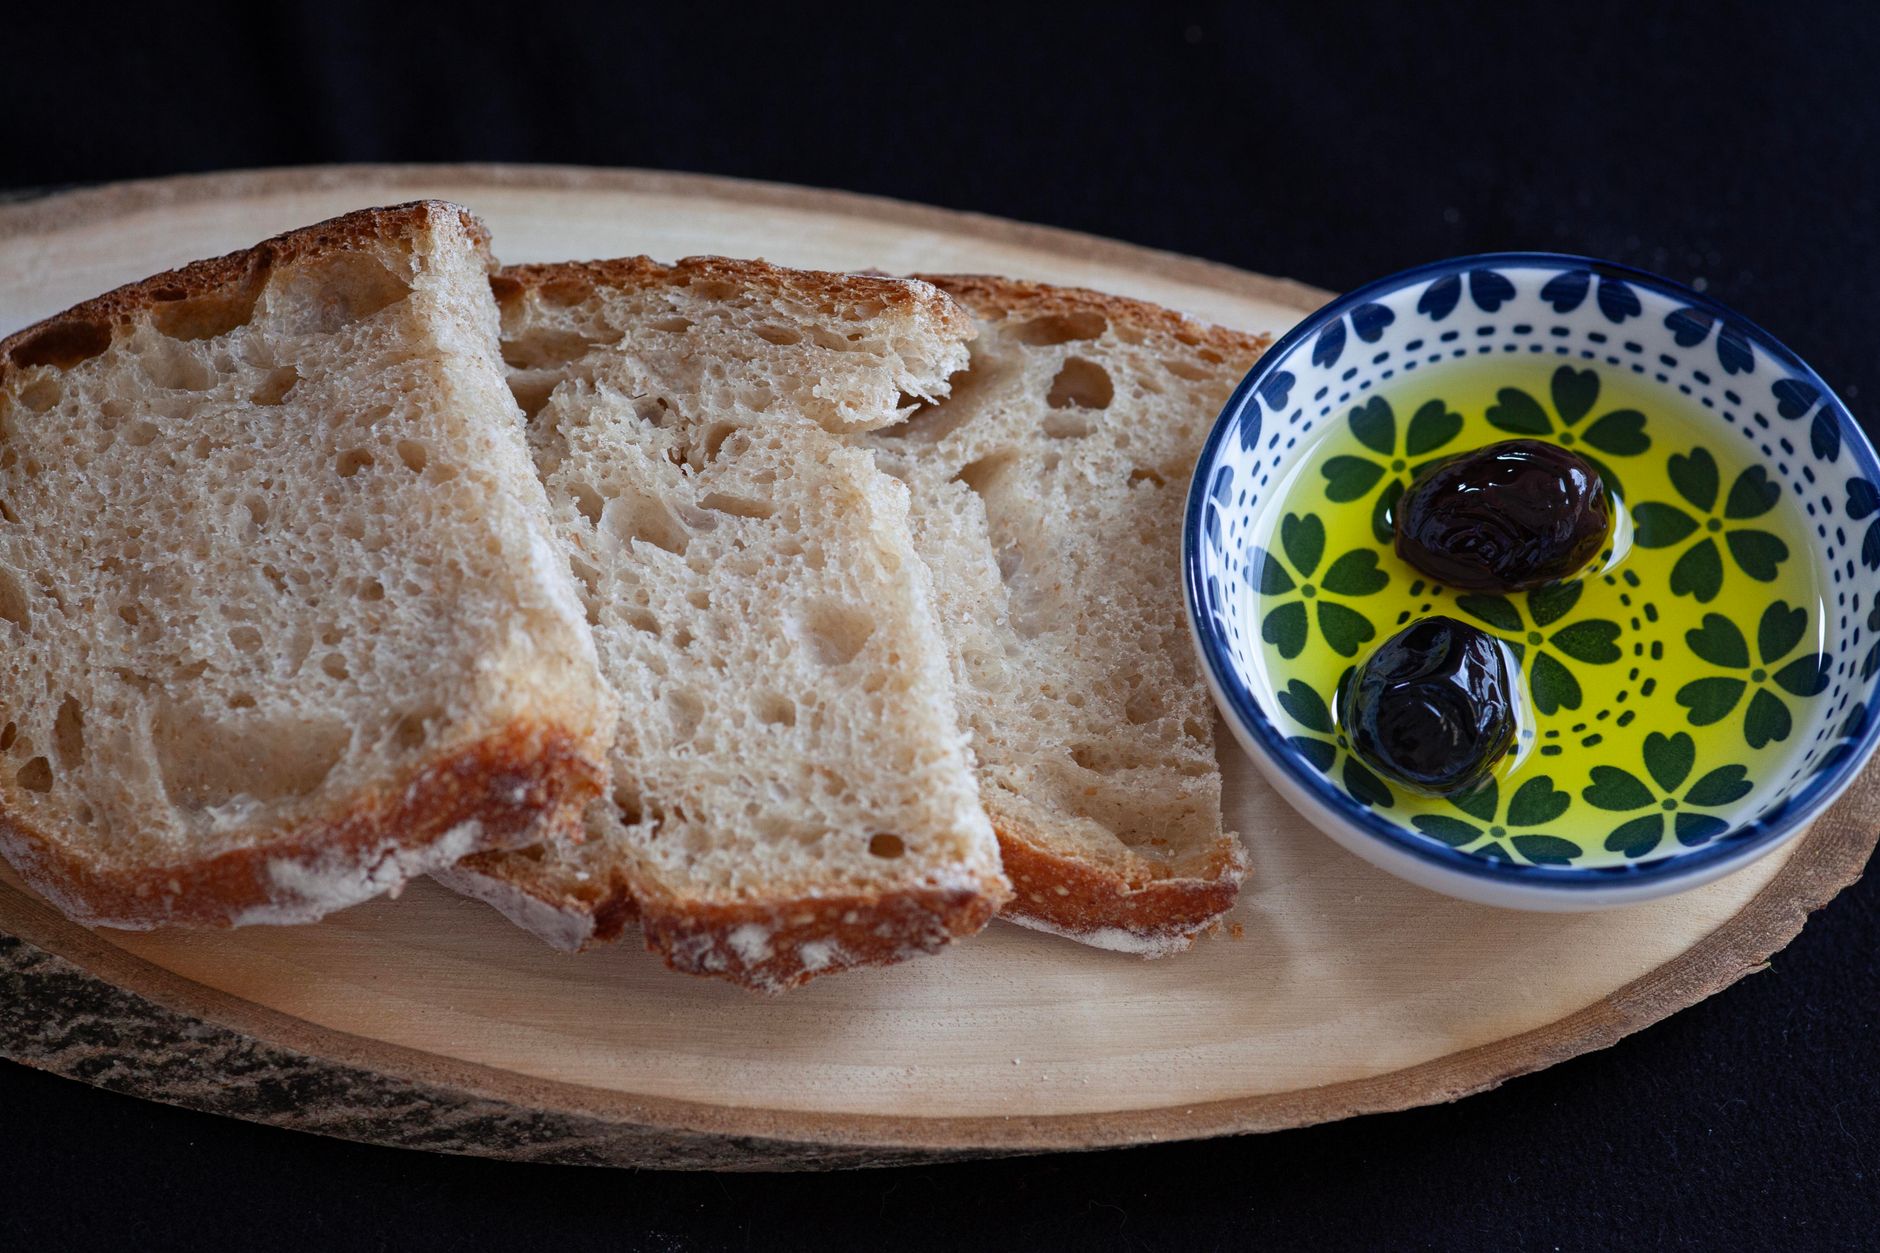
Slices of rustic bread with a dish of olive oil and olives on a wooden board. Photo: Lidya Kohen / Pexels
Once you've successfully learned how to make sourdough starter and it's consistently active, the next step is understanding how to maintain it. Proper maintenance ensures your starter remains vigorous and ready for baking whenever inspiration strikes. The key to a healthy starter is regular feeding, but the frequency depends on how often you bake and how you store it. If you plan to bake frequently (daily or every other day), you can keep your starter on the countertop at room temperature. In this scenario, you'll need to feed it once or twice a day, following the 1:1:1 ratio (1 part starter, 1 part flour, 1 part water by weight). For example, if you keep 50g of starter, you'd feed it with 50g flour and 50g water. Always discard most of the old starter before feeding to prevent it from becoming too acidic and to ensure there's enough fresh food for the microbes. The discarded starter isn't waste; it can be used in various 'discard recipes' like pancakes, crackers, or waffles, which is a great way to minimize waste and explore other culinary delights. For less frequent baking, storing your sourdough starter in the refrigerator is an excellent option. Refrigeration significantly slows down microbial activity, meaning your starter needs less frequent feeding. After feeding your starter and letting it become active on the counter for a few hours (or until it shows signs of activity), place it in the refrigerator. In the fridge, you typically only need to feed it once a week. When it's time to feed, take it out, let it come to room temperature for an hour or two, discard most of it, feed it, let it sit on the counter for 4-8 hours until active, and then return it to the fridge. If you notice a dark liquid (often called 'hooch') forming on top, it's a sign your starter is hungry. Simply pour off the hooch, stir the starter, and proceed with feeding. This hooch is a natural byproduct of fermentation and isn't harmful, though it can indicate a need for more consistent feeding or a slightly different feeding ratio. Troubleshooting common issues is also part of maintaining a starter. If your starter isn't rising, it might be too cold, not fed enough, or the flour isn't providing enough nutrients. Try moving it to a warmer spot, increasing feeding frequency, or switching to a stronger flour like rye. A strong, active starter should smell pleasantly sour and yeasty, not like acetone. If it smells like nail polish remover, it's likely over-fermented and needs more frequent feeding or a larger feeding ratio to dilute the acids. Remember, your starter is resilient. With consistent care and observation, it will continue to thrive and provide you with endless baking possibilities. Consider joining a local baking group or forum for additional tips and support, or check out our guide on advanced sourdough techniques.

Common Mistakes and Expert Tips for a Thriving Starter
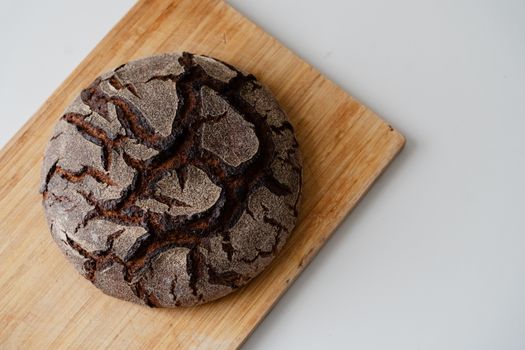
A rustic round loaf of artisan bread with cracked crust on a wooden cutting board. Photo: Anh Nguyen / Pexels
Learning how to make sourdough starter is an art and a science, and like any craft, there are common pitfalls to avoid and expert tips to embrace for guaranteed success. **Common Mistakes to Avoid:** * **Using Bleached Flour:** Bleached flour lacks the natural microbes and nutrients essential for a healthy starter. Always opt for unbleached varieties. * **Chlorinated Water:** Chlorine can inhibit yeast and bacterial growth. Use filtered or dechlorinated tap water (let it sit out for a few hours). * **Inconsistent Feeding Schedule:** Starters thrive on routine. Irregular feeding can lead to a weak or overly acidic starter. * **Too Cold Environment:** Low temperatures slow down fermentation significantly, making your starter sluggish. Aim for 70-80°F (21-27°C). * **Not Discarding Enough:** Failing to discard sufficient starter before feeding leads to an overwhelming volume and an overly acidic environment, starving the beneficial microbes. * **Airtight Container:** An airtight lid prevents the necessary gas exchange, which can lead to pressure buildup and an unhealthy environment for your starter. Always cover loosely. **Expert Tips for Success:** * **Start with Whole Wheat or Rye:** These flours are rich in nutrients and wild yeasts, giving your starter a strong start. You can transition to all-purpose later. * **Maintain a Consistent Temperature:** Find a warm spot in your home, like on top of the refrigerator, inside a turned-off oven with the light on, or in a proofing box. * **Weigh Ingredients:** Using a kitchen scale for flour and water is far more accurate than volumetric measurements, ensuring consistent ratios. * **Observe and Adapt:** Your starter will communicate its needs through bubbles, rise, and smell. Learn to read these signs and adjust feeding frequency or temperature accordingly. * **Keep a Small Amount:** You don't need a huge starter. Keeping a smaller amount (e.g., 50g) makes feeding more manageable and reduces flour waste. * **Name Your Starter:** Giving your starter a name can make the process more personal and encourage you to care for it diligently. It's a fun tradition many bakers adopt! * **Don't Give Up:** It's common for starters to have a 'lag phase' where activity seems to stall. This is normal. Keep feeding consistently, and it will eventually perk up. Persistence pays off in the world of sourdough.

Comparison

FeatureBest Option (Homemade)Alternative 1 (Store-Bought Dry)Alternative 2 (Friend's Starter)
CostVery Low (Flour & Water)Moderate (Kit Price)Free (if gifted)
Time Investment7-10 Days Initial Setup2-3 Days to ActivateImmediate Use
CustomizationFull Control (Flour Type, Hydration)Limited (Pre-selected Culture)Inherited Characteristics
Learning CurveModerate (Requires Patience)Low (Follow Instructions)Low (Already Active)
Unique Flavor Profile✗ (Generic)✓ (Established)

What Readers Say

"This guide on how to make sourdough starter was incredibly detailed and easy to follow. My starter, 'Bubbles,' is now a week old and consistently doubling! I'm so excited to bake my first loaf."

Sarah J. · Austin, TX

"I've tried to make a starter before and failed, but the troubleshooting section here was a game-changer. My kitchen is a bit cool, and adjusting my feeding schedule made all the difference. Highly recommend!"

Mark T. · Portland, OR

"Following these instructions, I successfully created a robust sourdough starter in just 8 days. My first loaf of bread had an amazing crust and a perfectly tangy crumb, all thanks to this comprehensive article."

Emily R. · Denver, CO

"The guide is fantastic, though I wish there was a bit more emphasis on what to do if you go on vacation. Still, my starter is thriving, and I've learned so much about the process."

David L. · Chicago, IL

"As someone who bakes gluten-free, I adapted these instructions using gluten-free flour, and it worked beautifully! The principles of how to make sourdough starter are universal, and this article explains them perfectly."

Jessica M. · Miami, FL

Frequently Asked Questions

What is the best flour to use when learning how to make sourdough starter?

For initial creation, unbleached whole wheat or rye flour is highly recommended. These flours contain more natural microbes and nutrients, giving your starter a stronger start. Once established, you can transition to unbleached all-purpose flour for maintenance.

My starter isn't bubbling; is it dead?

Not necessarily! Lack of bubbles can be due to a cool environment, infrequent feeding, or too much chlorine in your water. Try moving it to a warmer spot, feeding it more regularly, or using filtered water. Patience is key; it can take over a week for consistent activity.

How often should I feed my sourdough starter?

During the initial creation phase, you'll feed it daily after day 2. Once active, if kept at room temperature, feed it every 12-24 hours. If stored in the refrigerator, feed it once a week. Always discard most of the starter before feeding.

Is it expensive to maintain a sourdough starter?

No, maintaining a sourdough starter is very inexpensive. It primarily requires just flour and water, which are common pantry staples. The initial investment is minimal, and the long-term cost is negligible compared to buying commercial yeast or sourdough bread.

How does homemade sourdough starter compare to buying a dried starter culture?

Homemade starters, while taking longer to establish, often develop a unique flavor profile influenced by your local environment. Dried cultures are convenient and quicker to activate but might offer a more generic flavor. Both can produce excellent bread, but homemade offers a deeper connection to the process.

Who should try to make sourdough starter?

Anyone with a passion for baking, an interest in natural fermentation, or a desire to create healthier, more flavorful bread should try making a sourdough starter. It's also great for those looking for a rewarding culinary project that fosters patience and observation skills.

Can sourdough starter make you sick?

A properly maintained sourdough starter is safe. The acidic environment created by the lactic acid bacteria prevents the growth of harmful pathogens. If your starter develops mold (which is rare) or smells distinctly putrid, it's best to discard it and start fresh.

What are the future trends in sourdough baking?

Future trends in sourdough baking include a greater emphasis on ancient grains and heritage flours, exploring different fermentation temperatures for unique flavor profiles, and the development of more specialized tools for home bakers. There's also a growing interest in using sourdough discard in a wider array of recipes.

Now that you know how to make sourdough starter, it's time to embark on your own baking adventure. With patience and consistent care, you'll soon have a thriving, bubbly starter ready to transform your kitchen into a delicious artisan bakery. Get started today and taste the difference of homemade sourdough!

Topics: how to make sourdough startersourdough starter recipefeed sourdough starteractive sourdough culturehomemade sourdough
Leo List
Brampton weed
Adultwork EstrelaBet Vai de Bet R7 Bet Betão Galera Bet Rainbet Bet9ja Shop SportyBet BetKing Sisal Loto Foot Hollywoodbets YesPlay Odibets RushBet Jugabet BetWarrior BetCity MSport betPawa Fortebet