
How to Make Sourdough Bread Starter: Your Expert Guide
Unlock the magic of homemade sourdough with our simple, step-by-step guide to creating your own vibrant starter.
Start Your Sourdough JourneyKey Takeaways
- ✓ Sourdough starter is a live culture of wild yeast and bacteria.
- ✓ It requires only two ingredients: flour and water.
- ✓ The process typically takes 5-7 days to establish an active starter.
- ✓ Regular feeding is crucial for maintaining a healthy starter.
How It Works
Mix equal parts flour and non-chlorinated water in a clean jar. This initial mixture kickstarts the fermentation process.
Discard most of the starter and feed the remainder with fresh flour and water daily. This provides new nutrients for the growing microbial community.
Watch for signs of life: bubbles, a pleasant sour aroma, and an increase in volume after feeding. These indicate a healthy, active culture.
Perform the 'float test' – a small amount of starter should float in water. Once consistently active, your starter is ready for baking.
The Science Behind a Vibrant Sourdough Starter Culture
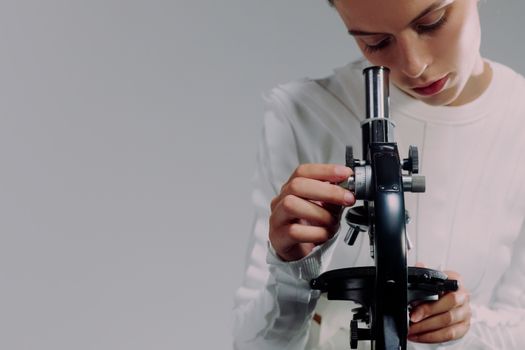 Photo: Ron Lach / Pexels
Step-by-Step Guide: Your First Sourdough Starter
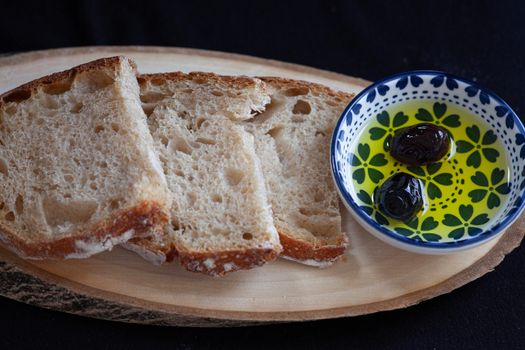 Photo: Lidya Kohen / Pexels
Maintaining and Troubleshooting Your Sourdough Starter
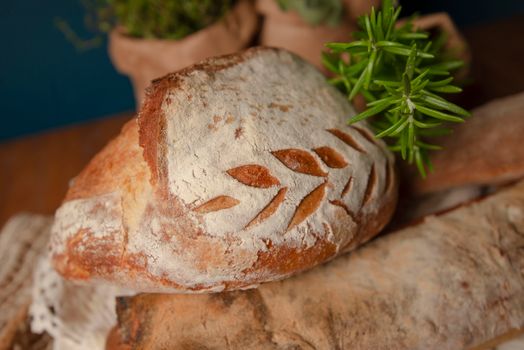 Photo: Natalia Olivera / Pexels
Tips for a Robust Starter & Common Mistakes to Avoid
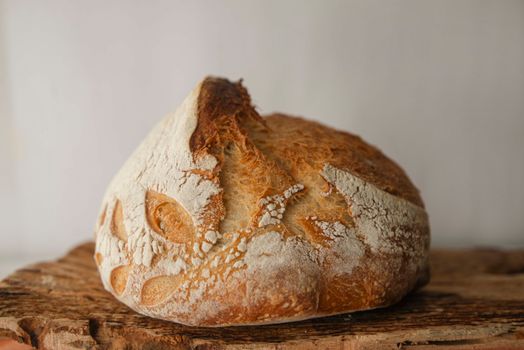 Photo: Natalia Olivera / Pexels
Comparison
| Feature | Best Option (Whole Wheat) | Alternative 1 (Rye Flour) | Alternative 2 (All-Purpose) |
|---|---|---|---|
| Initial Activity | Fast & Robust | Very Fast & Robust | Slower, Milder |
| Flavor Profile | Earthy, Nutty | Deep, Tangy | Mild, Classic |
| Maintenance Effort | Moderate | Moderate | Slightly Higher |
| Availability | ✓ | ✓ | ✓ |
| Cost | Moderate | Moderate | Low |
What Readers Say
"This guide on how to make sourdough bread starter was incredibly clear and easy to follow. I’ve tried before and failed, but the detailed day-by-day instructions here made all the difference. My starter is now bubbling beautifully!"
Sarah J. · Austin, TX"I loved the scientific explanation behind the starter; it helped me understand *why* I was doing each step. My starter was active within 6 days, and I'm already baking my first loaf. Highly recommend this comprehensive resource."
Mark P. · Portland, OR"Following these instructions, I successfully created a vibrant starter that consistently doubles in size. The float test guidance was spot-on, confirming its readiness. My homemade sourdough bread has never been better!"
Jessica L. · Denver, CO"The guide is excellent, though my starter took a couple of extra days to get fully active in my cooler kitchen. The troubleshooting tips were very helpful in getting it back on track. A solid resource for beginners."
David R. · Boston, MA"As someone who bakes a lot, I appreciate the depth of information on maintaining the starter. I've switched to a weekly fridge feeding schedule with great success, thanks to the tips provided here. My starter is so strong now!"
Emily K. · San Francisco, CAFrequently Asked Questions
What kind of flour is best to make sourdough bread starter?
Whole wheat or rye flour are often recommended for starting a sourdough culture because they contain more natural yeasts and bacteria, which can accelerate the initial fermentation process. Once established, you can typically feed your starter with unbleached all-purpose or bread flour for maintenance.
My starter isn't bubbling; is it dead?
Not necessarily! A lack of bubbles, especially in the first few days, is common. It might be hungry, too cold, or just taking its time. Try moving it to a warmer spot, ensuring you're feeding it consistently with fresh flour and non-chlorinated water. Patience is key; it can take up to two weeks.
How often should I feed my sourdough starter?
If kept at room temperature, an active sourdough starter typically needs to be fed every 12-24 hours. If stored in the refrigerator, feeding once a week is usually sufficient. Always feed it 1-2 times at room temperature before baking after refrigeration.
What should I do with the discarded sourdough starter?
Discarded sourdough starter doesn't have to go to waste! It can be used in a variety of recipes that don't rely on its leavening power, such as pancakes, waffles, crackers, flatbreads, or even savory muffins. Search for 'sourdough discard recipes' for inspiration.
Can I use chlorinated tap water for my sourdough starter?
It is strongly advised to avoid chlorinated tap water. Chlorine can kill the beneficial microorganisms in your starter, hindering its development or making it sluggish. Always use filtered water, bottled spring water, or tap water that has sat out for at least 24 hours (to allow chlorine to dissipate).
Who should make their own sourdough starter?
Anyone interested in baking authentic, flavorful sourdough bread at home should consider making their own starter. It's a rewarding process that gives you complete control over your ingredients and the unique tang of your bread, opening up a world of baking possibilities.
Is it safe if my sourdough starter develops a dark liquid on top?
Yes, a dark liquid called 'hooch' forming on top of your starter is generally safe and indicates that your starter is very hungry. It's a byproduct of fermentation. You can either stir it back in (which adds a stronger sour flavor) or pour it off before feeding. If the hooch is black or has mold, discard the starter.
How long will my sourdough starter last?
With proper care and consistent feeding, a sourdough starter can last indefinitely – for years, decades, or even centuries! Many bakers cherish starters that have been passed down through generations, each one a living legacy of fermentation.
Now that you know how to make sourdough bread starter and understand the care it requires, you’re ready to embark on an incredibly rewarding culinary adventure. Dive into the world of homemade sourdough and experience the unparalleled joy of baking your own artisan loaves. Your kitchen (and your taste buds!) will thank you.