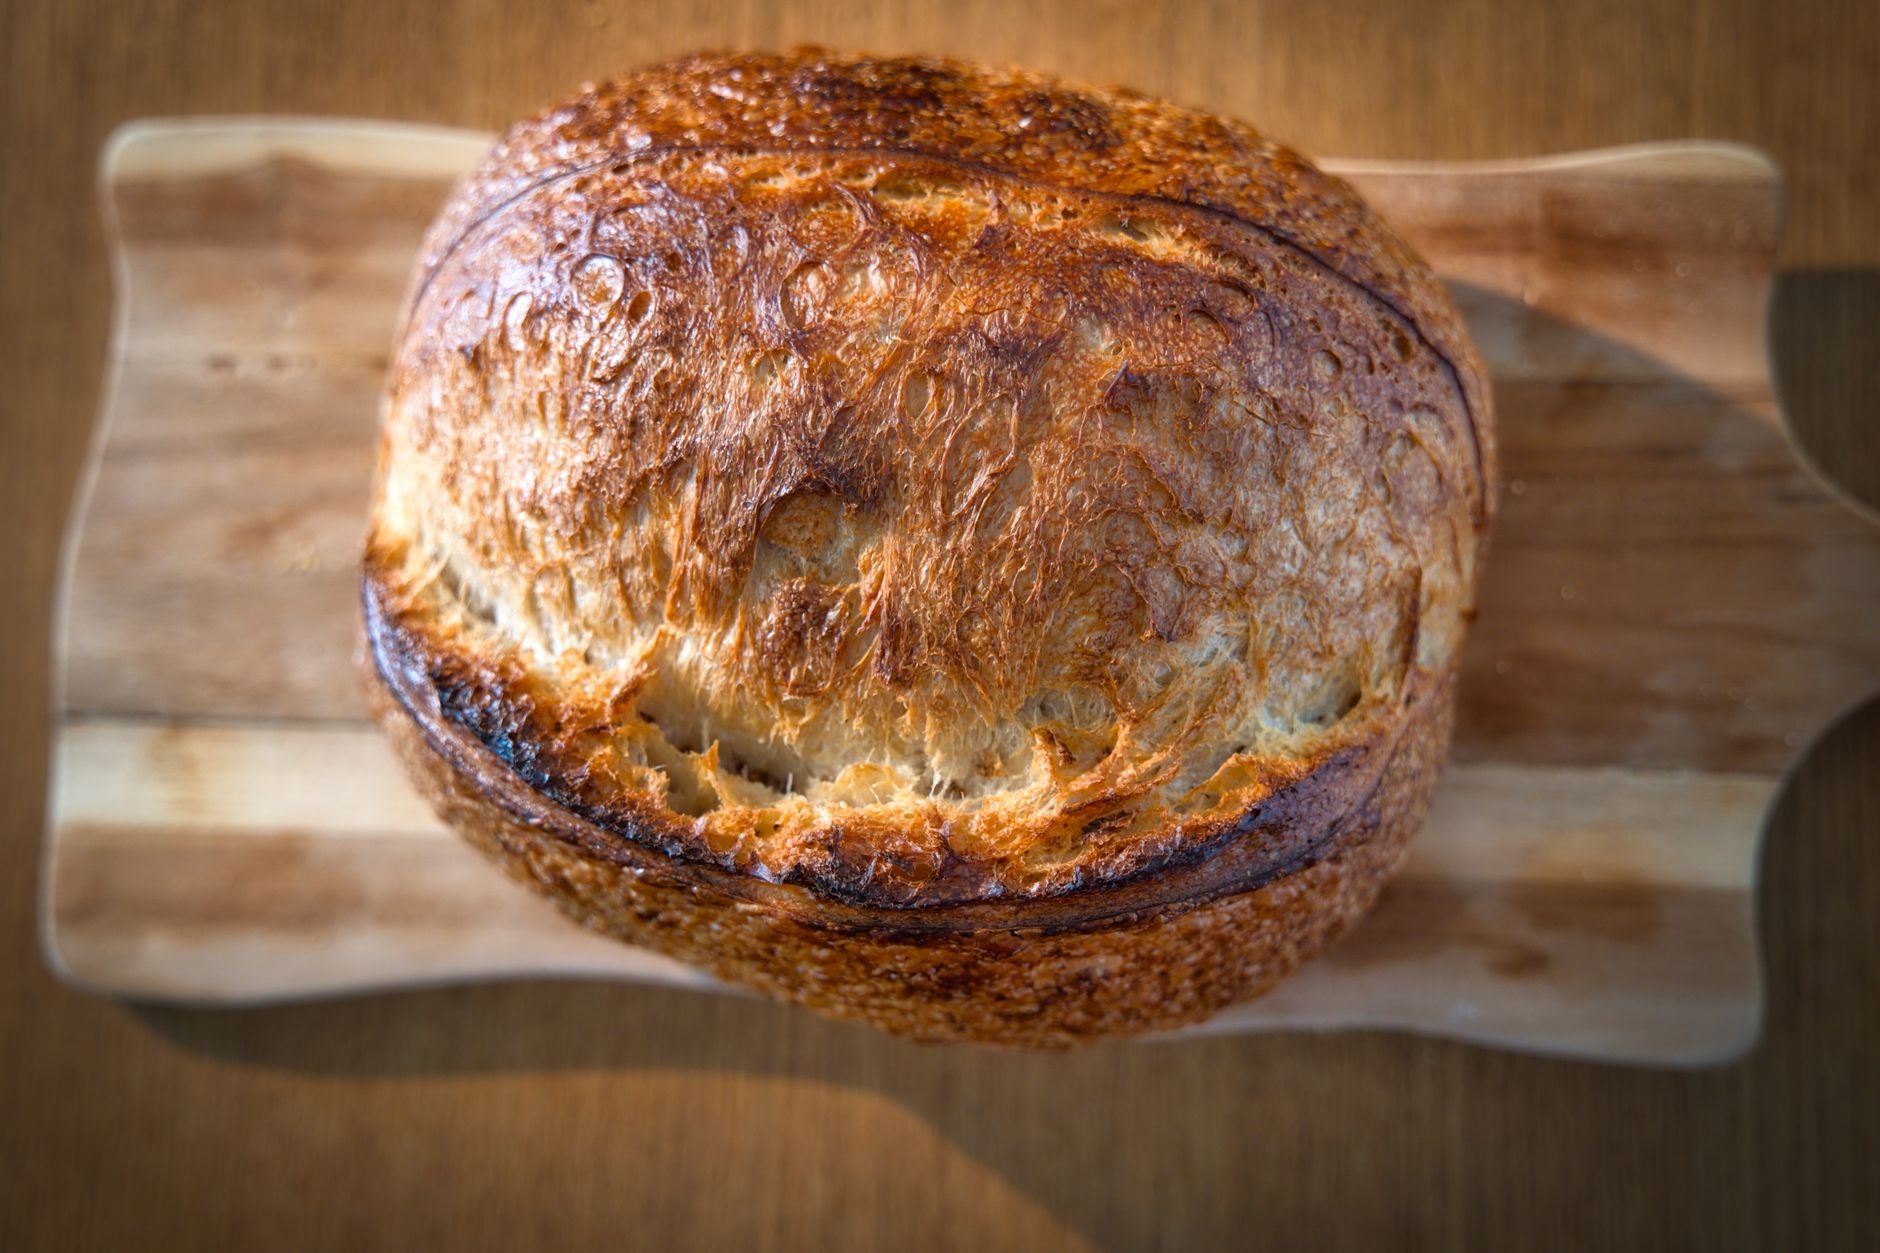
Master how to make sourdough bread at home
how to make sourdough bread at home

Master how to make sourdough bread at home

Transform simple ingredients into crusty, chewy, and flavorful sourdough loaves with our comprehensive, step-by-step guide.

Start Baking Today!

Key Takeaways

  • ✓ Sourdough relies on a 'starter' – a fermented mix of flour and water.
  • ✓ Patience is key; sourdough baking is a slow, rewarding process.
  • ✓ High-quality flour and water are essential for the best results.
  • ✓ Proper shaping and scoring affect both aesthetics and crumb structure.

How It Works

1
Activate Your Starter

Feed your sourdough starter and ensure it's active and bubbly before beginning your bake. A vigorous starter is crucial for good rise and flavor.

2
Mix & Ferment Dough

Combine flour, water, salt, and your active starter, then allow the dough to undergo its bulk fermentation. This develops flavor and strengthens the gluten.

3
Shape & Proof

Gently shape your dough into its final form and place it in a banneton for cold proofing. This slow, cool fermentation enhances flavor and makes the dough easier to handle.

4
Bake & Enjoy

Bake your sourdough in a preheated Dutch oven for a fantastic crust and open crumb. Let it cool completely before slicing to preserve its texture.

Understanding the Sourdough Starter: Your Bread's Heartbeat
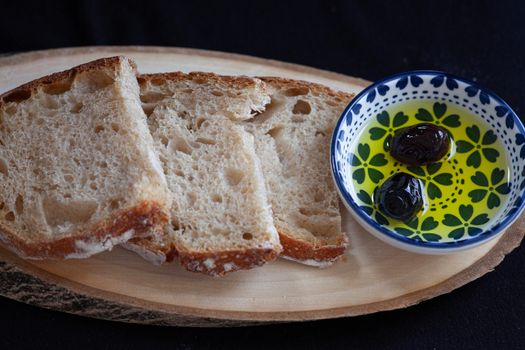
Slices of rustic bread with a dish of olive oil and olives on a wooden board. Photo: Lidya Kohen / Pexels
Before you can even think about how to make sourdough bread at home, you must first understand and nurture your sourdough starter. This living, breathing culture of wild yeasts and beneficial bacteria is the soul of your sourdough. It's what gives the bread its distinct tangy flavor, incredible texture, and natural leavening power. A healthy, active starter is non-negotiable for successful sourdough baking. If you don't have one, don't despair! Creating a starter from scratch is a simple process, though it requires a week or two of consistent feeding and attention. You'll combine equal parts (by weight) of whole wheat or rye flour and filtered water in a clean jar, then feed it daily with fresh flour and water, discarding a portion each time. The wild yeasts present in the flour and air will begin to colonize, creating bubbles and a distinct, yeasty aroma. An active starter should double in size within 4-8 hours after feeding, be full of bubbles, and smell pleasantly sour, like ripe fruit or yogurt. When it's at its peak activity, it's ready to be used in your bread. Maintaining your starter is an ongoing commitment. For regular bakers, keeping it at room temperature with daily feedings is ideal. If you bake less frequently, storing it in the refrigerator can slow down its activity, requiring only weekly feedings. Just remember to revive it with a few room-temperature feedings before baking. The type of flour you use to feed your starter can also influence its vigor and the flavor profile of your bread. Many bakers prefer unbleached all-purpose flour or bread flour, but a small amount of whole wheat or rye flour can give it an extra boost of nutrients, encouraging more robust yeast activity. Ultimately, getting to know your starter – understanding its rhythms and needs – is the first and most crucial step on your journey to mastering homemade sourdough. Pay attention to its smell, its texture, and its rise; these are all indicators of its health and readiness to transform into a magnificent loaf of bread. A strong starter ensures a strong, flavorful bread, making all your efforts in learning sourdough baking techniques worthwhile.

The Art of Mixing and Bulk Fermentation for Homemade Sourdough
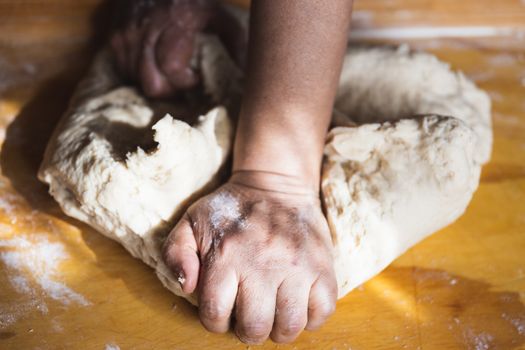
Close-up of hands kneading dough on a wooden surface, showcasing traditional baking techniques. Photo: Patricio Nahuelhual / Pexels
Once your sourdough starter is robust and active, the next critical phase in how to make sourdough bread at home is the mixing of your dough and the subsequent bulk fermentation. This stage is where the magic truly begins to unfold, as the ingredients come together and the starter starts its work. The basic ingredients for sourdough are simple: flour, water, salt, and your starter. However, the quality of these ingredients profoundly impacts the final product. Opt for high-quality bread flour with a good protein content (around 12-14%) for excellent gluten development. Filtered water is also recommended, as chlorine can inhibit yeast activity. The mixing process typically starts with the autolyse – combining flour and water (and sometimes the starter) and letting it rest for 30 minutes to an hour. This step allows the flour to fully hydrate and the gluten to begin developing naturally, reducing the need for extensive kneading later. After the autolyse, you'll incorporate the salt and the active sourdough starter, mixing until everything is evenly distributed. This initial mix can be done by hand or with a stand mixer, depending on your preference. The goal is to create a shaggy, cohesive dough. Following the initial mix, the dough enters its bulk fermentation period, also known as the first rise. This is the longest and arguably most important stage of fermentation, where the yeast and bacteria in your starter work to break down the starches, produce gases, and develop the complex flavors characteristic of sourdough. During bulk fermentation, you'll perform a series of 'stretch and folds' or 'coil folds.' These gentle manipulations strengthen the gluten network without deflating the dough, building structure and elasticity. Typically, you'll perform 3-5 sets of folds over the first 2-3 hours of bulk fermentation, with 30-60 minutes between each set. The duration of bulk fermentation varies significantly based on ambient temperature and the strength of your starter. It could range from 4 to 12 hours. You're looking for the dough to increase in volume by 30-50%, become noticeably gassier, and feel light and airy. Learning to read your dough – feeling its elasticity, observing its rise – is a skill developed over time and crucial for consistent results when mastering homemade sourdough.

Shaping, Proofing, and Baking Your Perfect Sourdough Loaf
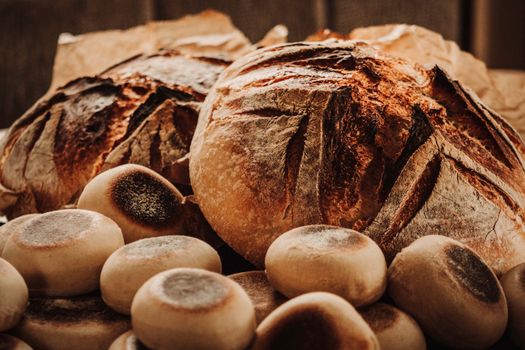
Close-up of freshly baked rustic sourdough loaves and buns in a warm, earthy setting. Photo: Lauren Heaton / Pexels
With a well-fermented dough in hand, the next steps in how to make sourdough bread at home involve shaping, proofing, and finally, baking your masterpiece. These stages are critical for achieving that beautiful open crumb and crusty exterior that sourdough is famous for. After bulk fermentation, gently turn your dough out onto a lightly floured surface. You'll then pre-shape the dough, a brief, gentle shaping that helps create surface tension and makes the final shaping easier. Let the dough rest for 20-30 minutes, covered, to allow the gluten to relax. The final shaping is where you create the structure that will hold its form during baking. There are various techniques (bâtard, boule, etc.), but the core idea is to create a tight, uniform surface tension on the outside of the dough while trapping gas inside. This tension is what gives the bread its oven spring. Once shaped, the dough is typically placed seam-side up into a floured banneton (or a bowl lined with a floured cloth) for its final proof. The final proof, often called cold proofing, usually occurs in the refrigerator for 12-18 hours or even up to 24 hours. This slow, cold fermentation further develops flavor, makes the dough easier to handle, and improves the crust. It also allows you to bake on your schedule. Baking sourdough is best done in a very hot oven, ideally within a preheated Dutch oven or on a baking stone with steam. The high heat and trapped steam are crucial for achieving maximum oven spring and a beautiful, blistered crust. Preheat your oven with the Dutch oven inside to 450-500°F (230-260°C) for at least 30-60 minutes. Carefully transfer your cold-proofed dough into the hot Dutch oven, score it with a sharp lame or razor blade (this helps control where the bread expands), and bake with the lid on for 20-25 minutes. The lid traps steam, keeping the crust soft initially, allowing the dough to expand fully. Then, remove the lid and continue baking for another 20-30 minutes, or until the crust is deeply golden brown and the internal temperature reaches 200-210°F (93-99°C). Once baked, resist the urge to slice immediately! Allowing the bread to cool completely on a wire rack for at least 2-3 hours is essential. This allows the internal structure to set and the flavors to fully develop, preventing a gummy crumb. This patience is key to enjoying the full reward of your efforts in learning how to make artisan bread at home.

Common Sourdough Mistakes and How to Avoid Them
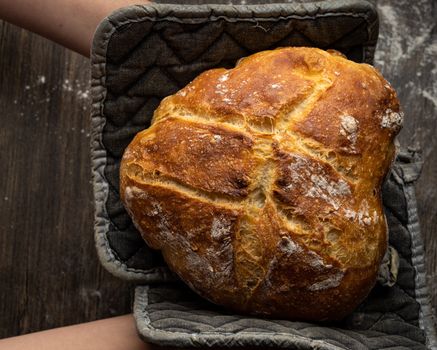
Golden crusted artisan bread resting on a wooden surface, showcasing home-baked perfection. Photo: Skyler Ewing / Pexels
Embarking on the journey of how to make sourdough bread at home can be incredibly rewarding, but it's also common to encounter a few challenges along the way. Understanding and avoiding common mistakes will significantly improve your success rate and the quality of your loaves. **1. Using an Inactive Starter:** This is perhaps the most frequent culprit for dense, flat sourdough. If your starter isn't doubling in size within 4-8 hours after feeding and isn't bubbly and vigorous, it's not ready. *Solution:* Feed your starter consistently at room temperature for a few days until it shows consistent activity before baking. **2. Under- or Over-Proofing:** Both scenarios lead to suboptimal results. Under-proofed dough will be dense and may tear during baking, while over-proofed dough will be slack, difficult to shape, and may collapse in the oven. *Solution:* Learn to read your dough. For bulk fermentation, look for a 30-50% increase in volume and a gassy feel. For final proof, the 'poke test' is helpful: gently poke the dough; if it springs back slowly, it's ready. If it springs back immediately, it needs more time. If it doesn't spring back, it's likely over-proofed. **3. Insufficient Gluten Development:** If your dough feels weak, tears easily, and doesn't hold its shape, it might lack proper gluten development. *Solution:* Ensure adequate stretch and folds during bulk fermentation. Don't rush these steps. You want the dough to feel strong and elastic. **4. Not Using Enough Steam:** Steam is crucial in the initial phase of baking for a good oven spring and a crispy, blistered crust. Lack of steam results in a tough, dull crust that restricts expansion. *Solution:* Always bake in a preheated Dutch oven with the lid on for the first part of the bake. If you don't have a Dutch oven, use a baking stone and create steam by pouring hot water into a pan on the bottom rack of your oven. **5. Slicing While Hot:** It's tempting, but slicing hot sourdough can lead to a gummy, dense crumb. The internal structure needs time to set as the bread cools. *Solution:* Exercise patience! Let your sourdough cool completely on a wire rack for at least 2-3 hours (or even longer for larger loaves) before slicing. This allows moisture to redistribute and sets the crumb, resulting in the perfect texture you worked so hard for.

Comparison

FeatureDutch Oven MethodBaking Stone with SteamSheet Pan (Beginner)
Crust QualityExcellent (Crispy, Blistered)Very Good (Crispy)Good (Chewy)
Oven SpringExcellent (Maximum)Very GoodModerate
Ease of UseModerate (Heavy lifting)Moderate (Requires steam setup)Easy
Equipment NeededDutch OvenBaking Stone, Water PanBaking Sheet
Consistency

What Readers Say

"This guide made learning how to make sourdough bread at home so much less intimidating. My first loaf had an incredible crust and open crumb, thanks to the detailed instructions on shaping and baking. I'm hooked!"

Sarah J. · Austin, TX

"I've tried a few sourdough recipes, but this one truly demystified the process. The focus on understanding the starter's activity and the importance of bulk fermentation really improved my results. My bread has never tasted better."

David R. · Seattle, WA

"After following these steps, I consistently bake two perfect loaves of sourdough every week. The tips on avoiding common mistakes were particularly helpful and saved me from many early frustrations. My family loves the homemade sourdough."

Emily C. · Denver, CO

"A very comprehensive guide, though I still had a bit of a learning curve with my starter. However, the baking instructions were spot on, and I'm slowly getting the hang of consistent results. It's definitely a process that requires patience."

Mark T. · Chicago, IL

"I used to buy expensive artisan bread, but now I can make sourdough bread at home that's even better! The explanation of cold proofing was a game-changer for fitting baking into my busy schedule. Highly recommend this article."

Jessica L. · Portland, OR

Frequently Asked Questions

What is the most important factor when learning how to make sourdough bread at home?

The most important factor is having a strong, active sourdough starter. A healthy starter provides the necessary leavening power and contributes significantly to the bread's flavor and texture. Nurturing your starter and understanding its activity levels is foundational to successful sourdough baking.

Is making sourdough bread at home difficult for beginners?

While sourdough baking requires patience and attention to detail, it's absolutely achievable for beginners. The key is to follow a reliable guide, understand each step, and not be discouraged by imperfect loaves initially. With practice, it becomes a rewarding and enjoyable process.

How do I know if my sourdough dough is properly fermented during bulk fermentation?

During bulk fermentation, your dough should increase in volume by 30-50%, feel gassy and airy, and show signs of gluten development (it should be more elastic and less sticky). A good indicator is when the dough jiggles slightly when the bowl is gently shaken, and the edges appear rounded.

What is the typical cost of ingredients to make sourdough bread at home?

The cost of ingredients for sourdough bread is quite low. High-quality flour, water, and salt are the primary components. Once you establish a starter, the ongoing cost per loaf is significantly less than buying artisan bread, making it a very economical choice in the long run.

How does homemade sourdough compare to store-bought artisan bread?

Homemade sourdough often surpasses store-bought artisan bread in terms of freshness, flavor complexity, and texture. You have complete control over ingredients, fermentation times, and baking techniques, allowing for a truly personalized and superior product that is typically unattainable from mass production.

Who should consider learning how to make sourdough bread at home?

Anyone with a passion for baking, an interest in natural fermentation, or a desire for healthier, more flavorful bread should consider learning to make sourdough at home. It's also ideal for those who appreciate a slower, more mindful approach to food preparation.

Is there any risk of foodborne illness when making sourdough bread?

When properly made, sourdough bread poses no significant risk of foodborne illness. The acidic environment created by the starter and the high temperatures during baking effectively eliminate harmful bacteria. Always use clean equipment and follow standard food safety practices.

What are the future trends in homemade sourdough baking?

Future trends in homemade sourdough baking include experimentation with ancient grains, inclusion of various seeds and inclusions for added nutrition and texture, and the development of more efficient starter maintenance methods. There's also a growing interest in no-knead and lower-hydration sourdough techniques for convenience.

Ready to transform your kitchen into an artisan bakery? This comprehensive guide provides everything you need to confidently make sourdough bread at home, from nurturing your starter to achieving that perfect crust and crumb. Start your sourdough journey today and savor the incredible taste of homemade bread.

Topics: how to make sourdough bread at homesourdough baking guidehomemade sourdough recipesourdough starterartisan bread at home
Leo List
Brampton weed
Adultwork EstrelaBet Vai de Bet R7 Bet Betão Galera Bet Rainbet Bet9ja Shop SportyBet BetKing Sisal Loto Foot Hollywoodbets YesPlay Odibets RushBet Jugabet BetWarrior BetCity MSport betPawa Fortebet