Mastering Gluten Free Baking Recipes Beginners Can Do!
August 3, 2026 17 min read 3,380 words
Embark on your gluten-free baking journey with confidence, creating delicious treats from scratch with our simple, foolproof guide.
Start Baking Today!
The Beginner's Guide to Gluten-Free Flours and Their Magic
Diving into gluten-free baking can feel like learning a new language, especially when it comes to flour. Gone are the days of simply reaching for all-purpose flour. In the world of gluten-free, a blend of various flours is often the secret to achieving that coveted texture and flavor. For beginners, understanding the role of each flour is paramount. Think of it like building a team, where each player brings a unique skill set. Some flours provide structure, others lightness, and some moisture.
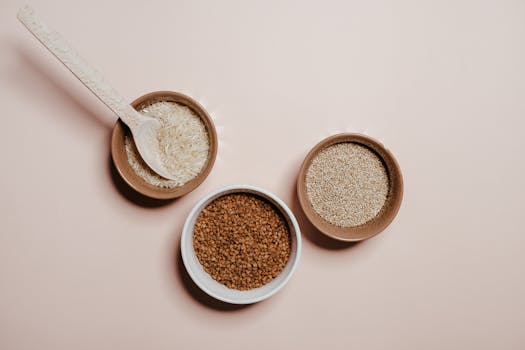
Let's break down the common players you'll encounter. **Rice flour**, both white and brown, is a staple. White rice flour is fine and lends a delicate texture, often used in lighter baked goods. Brown rice flour, with its slightly nutty flavor and higher fiber content, adds more substance and is excellent for heartier items like breads and muffins. Its coarser texture can sometimes make baked goods a little gritty, so it's often blended with other flours to counteract this.
Next up is **almond flour**, a popular choice derived from finely ground almonds. It's high in protein and healthy fats, which contributes to a moist, tender crumb and a rich flavor. Almond flour is fantastic for cakes, cookies, and even some savory dishes. However, it's denser than traditional flour and absorbs a lot of moisture, so recipes need to be adjusted accordingly. It's also low in carbohydrates, making it a favorite for those following specific dietary plans.
**Tapioca flour (or tapioca starch)** is another essential component. This fine, white starch extracted from the cassava root is excellent for providing chewiness, crispiness, and binding properties. It's often used to lighten baked goods and give them a desirable texture, preventing them from becoming too dense. It's particularly useful in pie crusts and chewy cookies.
**Potato starch** (not potato flour, which is different) is similar to tapioca starch in its binding capabilities and ability to create a light, airy texture. It's often used in conjunction with other flours to improve the overall crumb. **Cornstarch** also falls into this category, acting as a thickener and tenderizer. While effective, some people prefer to avoid corn, so tapioca or potato starch are good alternatives.
For a more robust texture, **oat flour** (ensure it's certified gluten-free to avoid cross-contamination) is a wonderful option. It adds a slightly nutty, wholesome flavor and a good amount of fiber. It’s excellent in muffins, quick breads, and cookies. However, it can absorb a lot of liquid, so recipes might need additional moisture.
Finally, **sorghum flour** offers a mild, slightly sweet flavor and a good source of protein and fiber. It provides structure and can be used in a variety of baked goods, from breads to cakes. It's often paired with starches to prevent a crumbly texture.
The key takeaway for beginners is to start with pre-made gluten-free flour blends. These blends are expertly formulated to mimic the properties of wheat flour, saving you the headache of balancing individual flours. Look for blends that specifically state they are for 'all-purpose' baking. As you gain confidence, you can then start to experiment with creating your own blends, tailoring them to specific recipes and desired textures. Understanding these foundational flours is your first step to unlocking a world of delicious
gluten-free culinary creations. Remember, patience and precision are your best friends in this new baking adventure. Start simple, understand your ingredients, and the delicious results will follow.
Essential Binders and Leavening Agents for Perfect Gluten-Free Texture
Once you’ve got a handle on the various gluten-free flours, the next crucial step for beginners is understanding the role of binders and leavening agents. In traditional baking, gluten provides the elasticity and structure that holds baked goods together, trapping air and allowing them to rise. Without gluten, we need other ingredients to step in and perform these vital functions. This is where binders like xanthan gum and leavening agents such as baking powder and baking soda become indispensable.
**Xanthan Gum** is arguably the most common and effective binder in gluten-free baking. It's a polysaccharide, a type of sugar, produced by the fermentation of glucose or sucrose. When added to gluten-free doughs and batters, it mimics the elasticity and stickiness of gluten, preventing your baked goods from becoming crumbly or dense. For beginners, the general rule of thumb is to use about ¼ teaspoon of xanthan gum per cup of gluten-free flour blend for cookies and cakes, and ½ teaspoon per cup for breads. Too much xanthan gum can make your baked goods gummy or slimy, so precise measurement is key. Many commercial gluten-free flour blends already contain xanthan gum, so always check your blend's ingredient list before adding more.
Another excellent binder is **Psyllium Husk Powder**. Derived from the seeds of the Plantago ovata plant, psyllium husk is a soluble fiber that absorbs a significant amount of water, forming a gel-like substance. This property makes it an exceptional binder, providing structure, elasticity, and a soft, chewy texture, especially in breads. Unlike xanthan gum, psyllium husk can sometimes be used in larger quantities without adverse effects, and it also adds a beneficial fiber boost. It's particularly favored for yeast-based gluten-free breads, giving them a more traditional texture.
Beyond binders, **leavening agents** are what give your baked goods their lift and airiness. **Baking powder** is a mixture of an acid (like cream of tartar), a base (sodium bicarbonate, or baking soda), and a starch (often cornstarch or potato starch) to keep them dry. When activated by liquid and heat, it produces carbon dioxide gas, creating bubbles that expand and cause the dough or batter to rise. Most baking powder is naturally gluten-free, but it's always wise to check the label.
**Baking soda**, or sodium bicarbonate, is a pure alkaline leavening agent. It needs an acid (like buttermilk, yogurt, lemon juice, vinegar, or brown sugar) in the recipe to react and produce carbon dioxide. Without an acid, it won't work properly and can leave a soapy taste. Often, baking soda and baking powder are used together in gluten-free recipes to achieve the perfect rise and texture, with baking soda contributing to tenderness and browning.
For yeast-risen gluten-free breads, **active dry yeast** and **instant yeast** are your go-to leavening agents. Yeast feeds on sugars in the dough, producing carbon dioxide and alcohol, which makes the bread rise. Gluten-free yeast breads can be a bit trickier than quick breads or cakes, as the lack of gluten means less structure to hold the gas. This is where binders like psyllium husk really shine, helping to trap the gas and give the bread a good rise and crumb. When working with yeast, ensure your liquid is at the correct temperature – too hot will kill the yeast, too cold won't activate it.
Mastering these binders and leavening agents is a cornerstone of successful gluten-free baking. They are the unsung heroes that transform a collection of gluten-free flours into delightful, structured, and airy treats. Start by meticulously following recipes, paying close attention to the amounts specified for these ingredients. As you gain experience, you'll develop an intuitive understanding of how they work and how to adjust them for different desired outcomes, making your gluten-free baking journey truly rewarding.
Foolproof Gluten-Free Baking Recipes Beginners Can Master
Now that you're equipped with knowledge about gluten-free flours, binders, and leavening agents, it's time to put that knowledge into practice with some truly foolproof gluten-free baking recipes beginners will love. Starting with simple recipes is the best way to build confidence and develop your gluten-free baking intuition. Remember, precision is key, so grab your measuring cups and spoons!
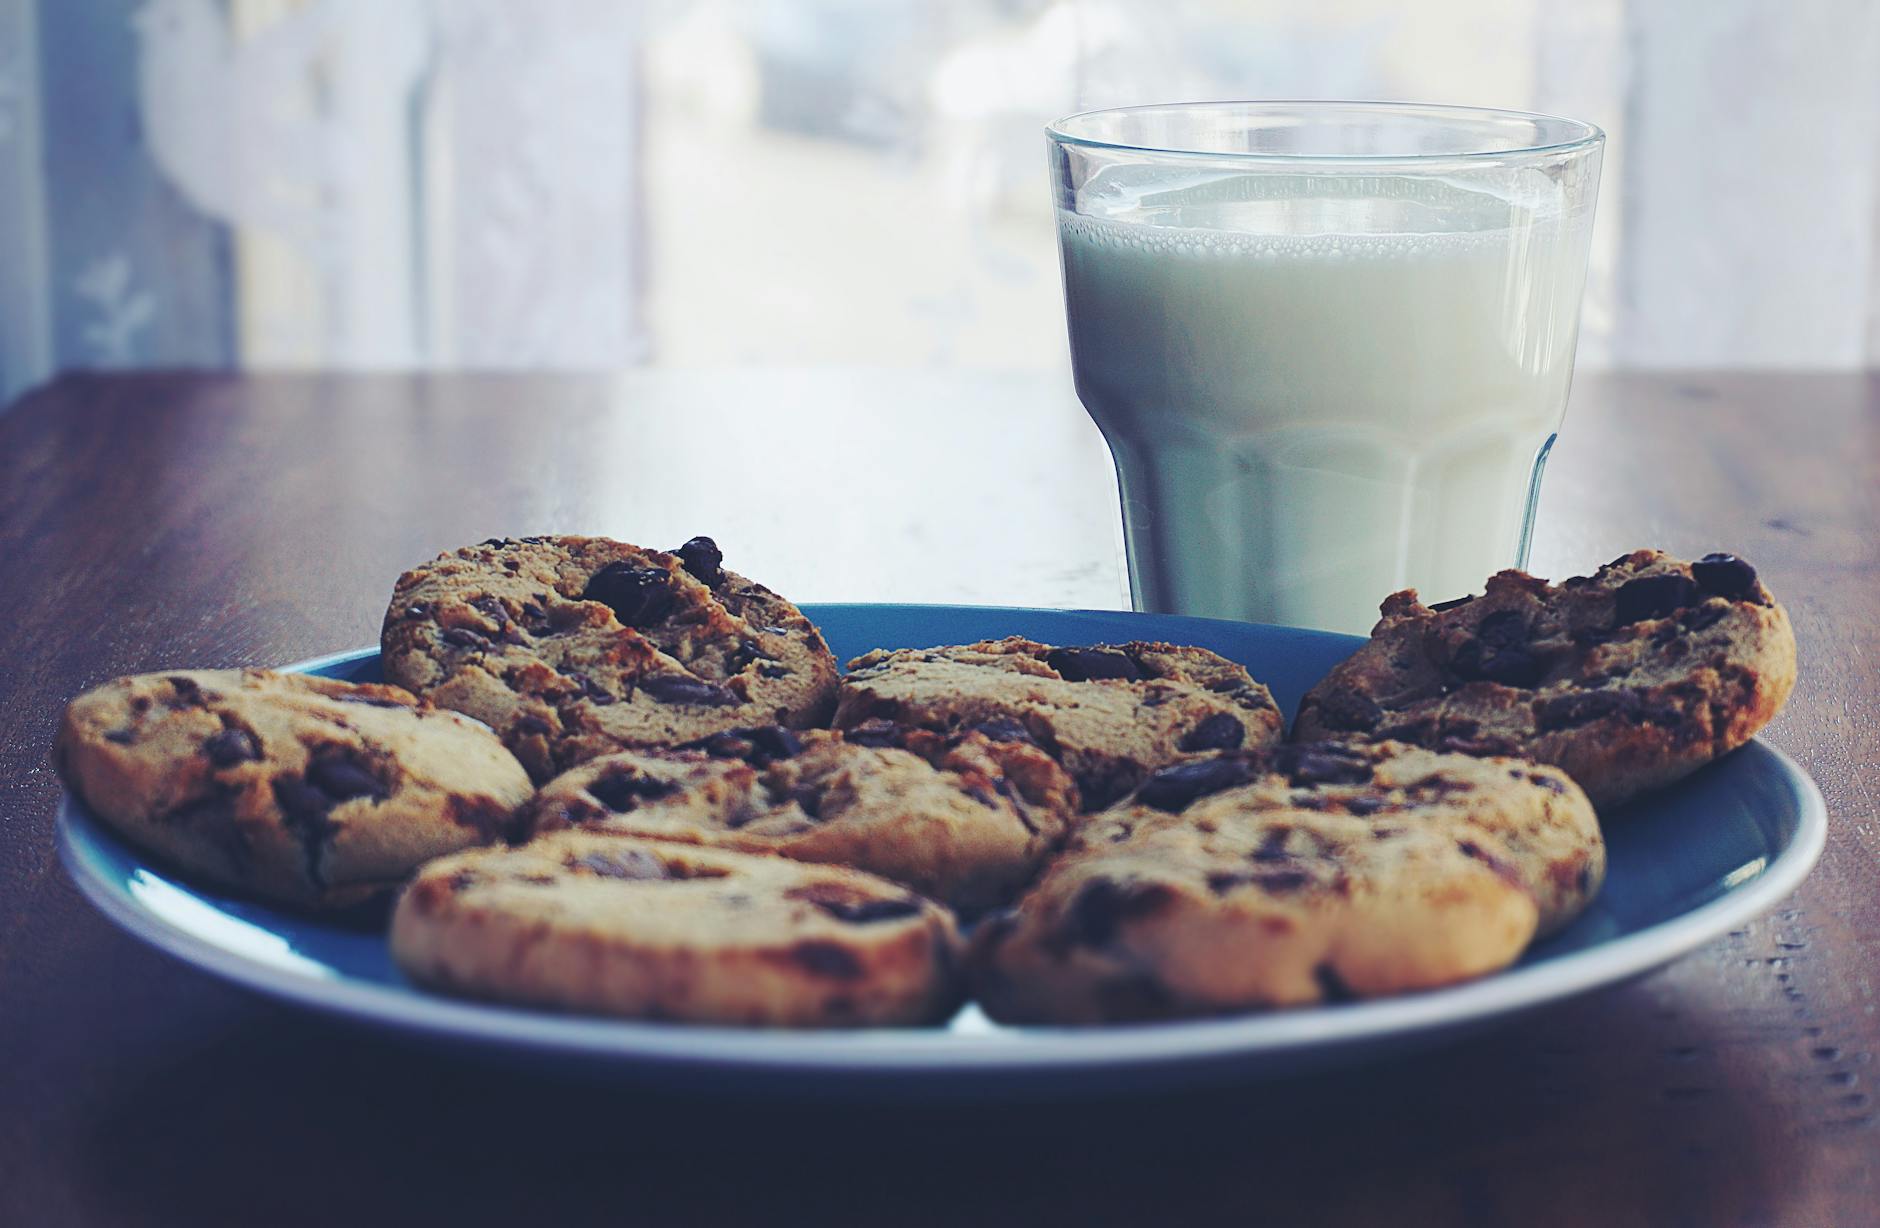
**1. Simple Gluten-Free Chocolate Chip Cookies:** These are a classic for a reason and an excellent starting point. The beauty of cookies is their forgiving nature. They don't rely as heavily on structure as cakes or breads, making them ideal for beginners. Look for recipes that use a pre-made gluten-free all-purpose flour blend (which often includes xanthan gum). The key to success here is not to overbake them; you want them slightly soft in the middle. Ingredients typically include butter, granulated sugar, brown sugar, an egg, vanilla extract, a gluten-free flour blend, baking soda, and chocolate chips. Creaming the butter and sugars properly is essential for a good texture. Don't be afraid to chill the dough for at least 30 minutes before baking; this helps prevent spreading and enhances flavor.
**2. Easy Gluten-Free Blueberry Muffins:** Muffins are another fantastic entry point. They are quick to mix and bake, and their rustic charm means perfection isn't the main goal – deliciousness is! Many gluten-free muffin recipes use a combination of rice flour, almond flour, and tapioca starch, along with baking powder and baking soda. The trick to moist muffins is not to overmix the batter; mix until just combined, even if there are a few lumps. Overmixing develops toughness, even in gluten-free batters. Fresh or frozen blueberries work wonderfully, and a sprinkle of sugar on top before baking adds a nice crunch. These are perfect for a weekend breakfast or a quick snack.
Find more gluten-free breakfast recipes here!
**3. Basic Gluten-Free Brownies:** Who doesn't love a good brownie? Gluten-free brownies are surprisingly easy to make and often taste just as fudgy and rich as their gluten-containing counterparts. Many recipes leverage almond flour for its moistness and richness, combined with cocoa powder for deep chocolate flavor. The structure comes from eggs and a small amount of gluten-free flour blend, sometimes with a touch of xanthan gum. The biggest mistake beginners make is overbaking, which leads to dry, cake-like brownies. For fudgy brownies, pull them out of the oven when the edges are set but the center still looks a little underbaked and jiggly. They will continue to set as they cool.
**4. Quick Gluten-Free Banana Bread:** This is a fantastic recipe for using up overripe bananas and results in a wonderfully moist and flavorful loaf. Gluten-free banana bread often uses a mix of gluten-free all-purpose flour, baking soda, and spices like cinnamon. The mashed bananas provide a lot of moisture and natural sweetness, making this a very forgiving recipe. As with muffins, avoid overmixing. You can also add nuts or chocolate chips for extra flavor and texture. This bread freezes exceptionally well, so you can make a large batch and enjoy it for weeks.
**5. Simple Gluten-Free Pancakes/Waffles:** While technically not 'baked,' pancakes and waffles are foundational gluten-free recipes that teach you a lot about working with gluten-free batters. Many recipes use a simple gluten-free all-purpose flour blend, eggs, milk (dairy or non-dairy), and baking powder. The key to light and fluffy results is not to overmix and to let the batter rest for 5-10 minutes before cooking. This allows the flours to fully hydrate, resulting in a better texture. Serve with your favorite toppings for a delightful breakfast or brunch.
Each of these recipes is designed to be straightforward and forgiving, allowing you to build your gluten-free baking confidence one delicious treat at a time. Pay attention to the texture of the batter and dough, and don't be afraid to make notes on what works and what doesn't. Soon, you'll be adapting recipes and creating your own gluten-free masterpieces!
Common Mistakes and Expert Tips for Gluten-Free Baking Success
Even with the best gluten-free baking recipes, beginners can encounter common pitfalls. Knowing what to avoid and having a few expert tips up your sleeve can make all the difference between a crumbly disappointment and a delicious success.
**Common Mistakes to Avoid:**
* **Not using a binder (or using too little/too much):** This is perhaps the most frequent error. Without gluten, your baked goods need something to hold them together. Forgetting xanthan gum or psyllium husk, or mismeasuring it, can lead to crumbly, dry, or gummy results. Always check if your flour blend already contains a binder.
* **Overmixing the batter/dough:** While traditional baking can sometimes benefit from vigorous mixing, gluten-free batters are different. Overmixing can incorporate too much air initially, which then collapses during baking, leading to dense or tough textures. Mix only until just combined.
* **Substituting flours haphazardly:** Each gluten-free flour has unique properties. Swapping one for another without understanding its impact on structure, moisture, and flavor is a recipe for disaster. Stick to the recipe's specified flour blend or use a trusted commercial all-purpose gluten-free blend.
* **Not letting the batter rest:** Gluten-free flours often need more time to hydrate than wheat flours. A 10-15 minute rest allows the flours to absorb liquid, resulting in a smoother batter and a better final texture.
* **Overbaking:** Gluten-free baked goods can dry out more quickly than their gluten-containing counterparts. Always err on the side of slightly underbaked, especially for cookies and brownies, as they will continue to cook and set as they cool.
* **Ignoring temperature:** Ingredients like eggs and butter often need to be at room temperature for proper emulsion and texture. Also, ensure your oven is preheated properly and consistently maintains its temperature.
**Expert Tips for Success:**
* **Use a kitchen scale:** For ultimate precision, especially with flours and binders, measuring by weight (grams) is far more accurate than by volume (cups). This minimizes variability and increases your chances of consistent results.
* **Read the recipe entirely before starting:** This helps you understand the process, gather all ingredients, and avoid mid-recipe surprises or omissions.
* **Invest in a good gluten-free all-purpose flour blend:** Especially as a beginner, a high-quality blend designed for various uses will simplify your baking and give you more consistent results than trying to mix individual flours from scratch.
* **Add extra moisture:** Gluten-free flours tend to absorb more liquid. Don't be afraid to add a tablespoon or two of extra milk, water, or oil if your batter seems too dry or stiff, especially in muffins and quick breads. Applesauce, mashed banana, or yogurt can also boost moisture.
* **Don't open the oven door too early:** For cakes and muffins, opening the oven door before the structure is set can cause them to collapse. Wait until the recommended baking time is nearly complete.
* **Store properly:** Gluten-free baked goods can sometimes dry out faster. Store them in an airtight container at room temperature or in the refrigerator, and consider freezing if you won't consume them quickly.
* **Embrace the learning curve:** Gluten-free baking is a skill. Your first attempts might not be perfect, and that's okay! Learn from each bake, make notes, and celebrate your progress. Every successful bake builds your confidence and knowledge.